


If you're like most business owners, you've hosted – or thought about hosting – a webinar. While webinars have been popular for many years, their use shows no signs of slowing down. According to the ON24 2021 Webinar Benchmarks report, 99% of respondents said webinars are still a critical part of their marketing plan.
If you're new to planning and hosting webinars, this post will walk you through all the basic steps, including how to:
- Determine your webinar objective
- Choose the right software
- Send out email reminders
- Host your webinar
- Send follow-up emails to your webinar attendees
While I go into a fair bit of detail on how to use my favorite webinar and email software, you can take the tips from this post and use them with whichever tools you decide to use.
Step 1: Determine Your Objective
How do you know if you've reached your webinar goal if you don't set a goal?
In case you hadn't already noticed, planning and hosting a webinar is a lot of work (at least if you want to do it right.)Before you jump in and start promoting or planning your webinar, take some time to think about your goals. What are you hoping to achieve through your webinar? Another way of putting this is: how will you know if your webinar is successful?
Generally speaking, the main goal for your webinar will fall into one of two categories:
- Get new leads/email subscribers. A compelling webinar can attract hundreds or even thousands of leads. Once the webinar is over, you can continue connecting with your new subscribers to promote your offers.
- Get sales. Getting sales will often be the primary focus of your webinar. At the end of your webinar, you'll want your viewers to take action: book a call, fill out a form, or make a purchase via a dedicated landing page.
According to the folks at ConvertKit, you can expect an average webinar attendee conversion rate of around 15% (though this percentage can fluctuate considerably depending on various factors.)
This conversion rate means approximately 85% of your webinar attendees won't convert, at least not at first.
You must collect the email addresses of your attendees. Once you have your registrants in your email marketing funnel, you can continue to engage with them, inviting them to future webinars and promoting your other offers.
Note: planning an event can be stressful! Here are 5 tips to effectively manage your time and resources when planning an event.
Step 2: Choose your webinar software
There are many excellent tools for running your webinar: ClickMeeting and EasyWebinar, to name just a few.
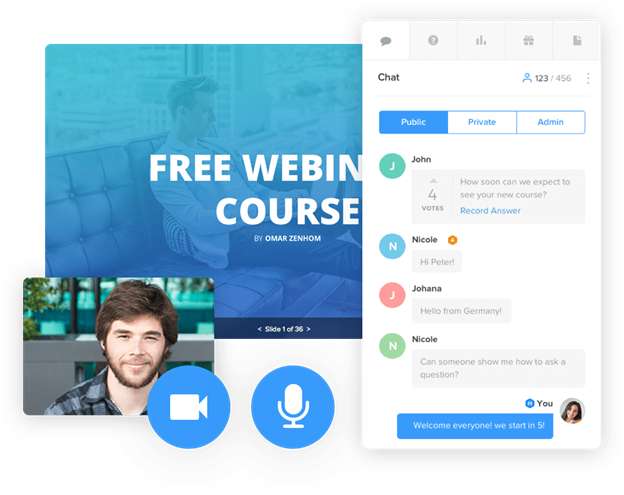
My top two picks, however, are WebinarNinja and Zoom.
Both are easy to use and allow you to play the video right within your webinar – not all webinar software allows this. Most importantly, both tools will enable you to integrate with ActiveCampaign easily – you'll see why this is so important in step 3 below.
Unfortunately, Zoom doesn't offer a free version or trial of their webinar software (important note: Zoom Webinar is not the same as the Zoom you've become accustomed to for holding meetings during Covid, so be sure to do your research!)
WebinarNinja does offer a free 14-day trial, and you can upgrade to the paid version for as little as $29/month for up to 50 live attendees. Because of the free trial and affordable pricing, I'll focus on WebinarNinja throughout the rest of this post.
Step 3: Set Up Email Reminders For Attendees
According to On24.com, one-quarter of webinar registrants sign up 15+ days before the event. You'll likely want to start planning your webinar 30 days in advance. The problem with this, of course, is that by the time you're ready to host your webinar, many of your attendees will have completely forgotten about it!
It's essential to use an email marketing service like ActiveCampaign to send automated email reminders at set periods before your event (e.g., 30 days before the webinar, 14 days before the webinar, etc.)
Following is a brief tutorial on how to set up email reminders using my preferred webinar software combo, WebinarNinja and ActiveCampaign.
How to Send Email Reminders Using WebinarNinja And ActiveCampaign
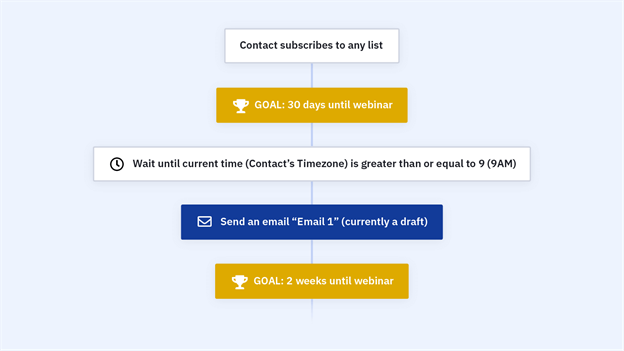
ActiveCampaign makes it easy to send webinar reminders using their webinar reminder email series.
This automation is triggered when someone signs up for your webinar and sends periodic reminder emails: 30 days, 14 days, and seven days before your event, the day before, and the day of your webinar.
Setting up this automation is relatively straightforward if you follow these steps.
1. Integrate WebinarNinja and ActiveCampaign.
First, log in to your ActiveCampaign account and click Settings and Developer from the left-hand menu. Here you'll grab your API access URL and Key.
Next, log in to your WebinarNinja account and go to Integrations:
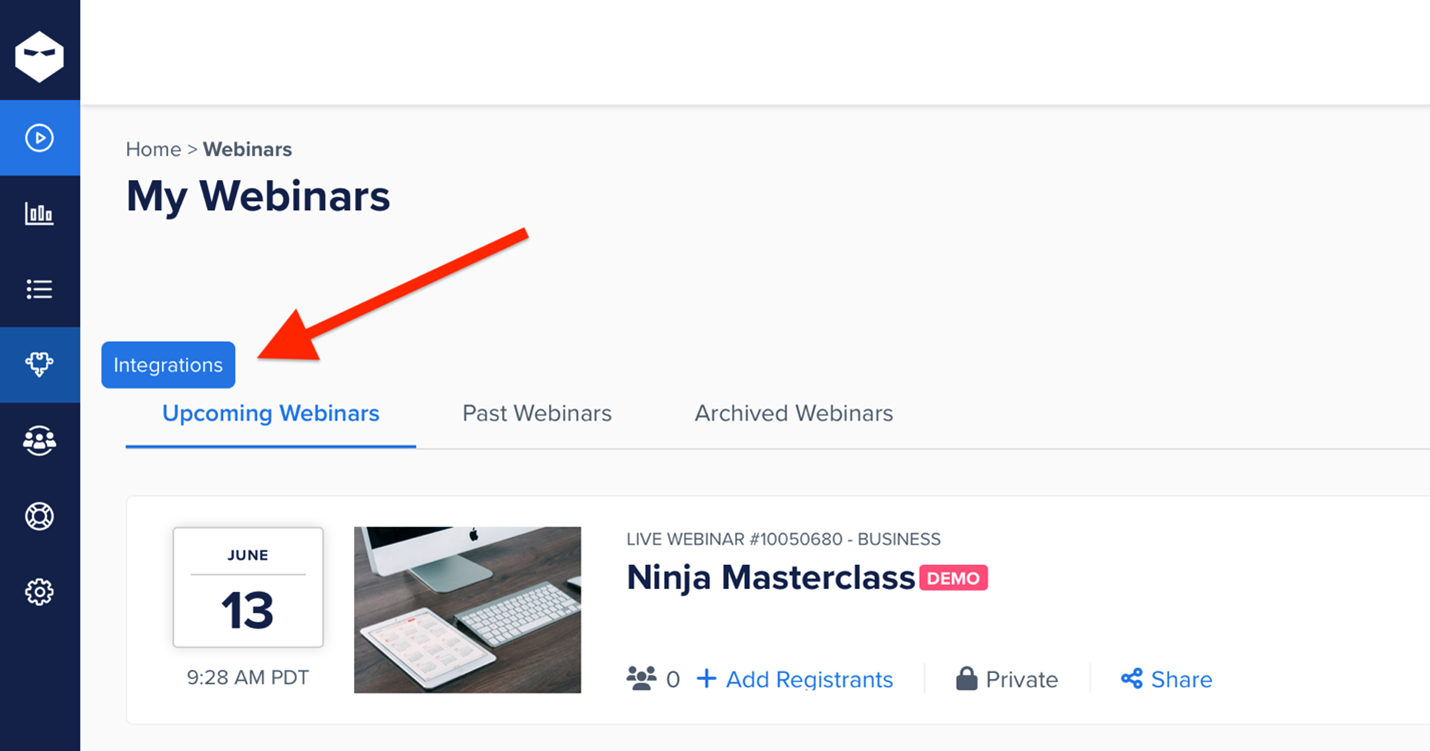
This page is where you will enter the API access URL and key you copied from your ActiveCampaign account. Paste these into the corresponding boxes and then click Connect. Now select the tag you want to apply to all new webinar registrants. I had previously created a unique tag just for webinar registrants. I suggest you do the same!
During webinar registration, all new registrants will be added to your ActiveCampaign account with the tag you've specified when.
2. Create a Custom Date Field For Your Webinar In ActiveCampaign
You'll need to let ActiveCampaign know the date of your webinar so it can send emails out at specific intervals before your webinar (e.g., 30 days, 14 days, etc.).
To do this, go to Lists on the left side of your screen, and then click on Manage Fields.
In the dropdown boxes at the top of the screen, select Date and the list name you want to use, and then click the blue Add Field button.
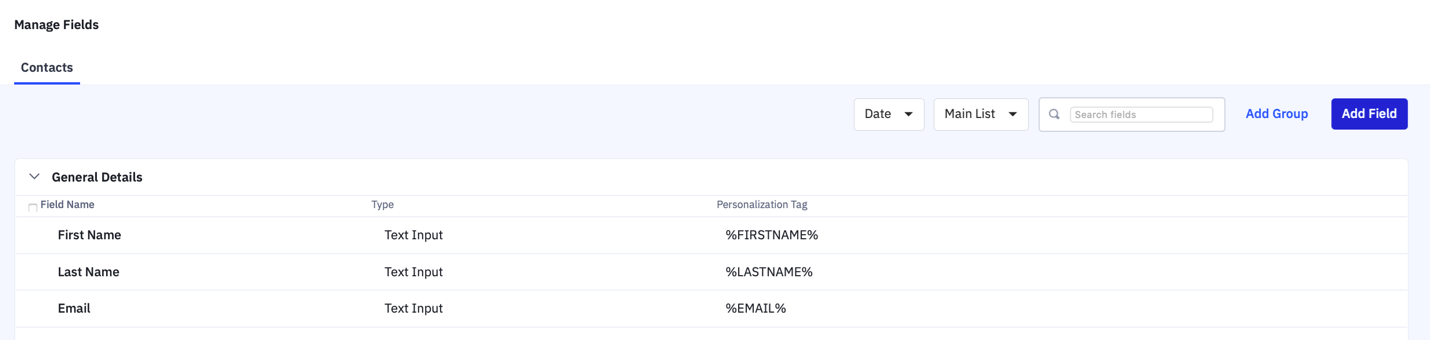
Next, name your field (I named mine “Webinar Date”), select General Details, and under “Field Type,” choose Date.
3. Set Up The Webinar Reminder Series Automation In ActiveCampaign
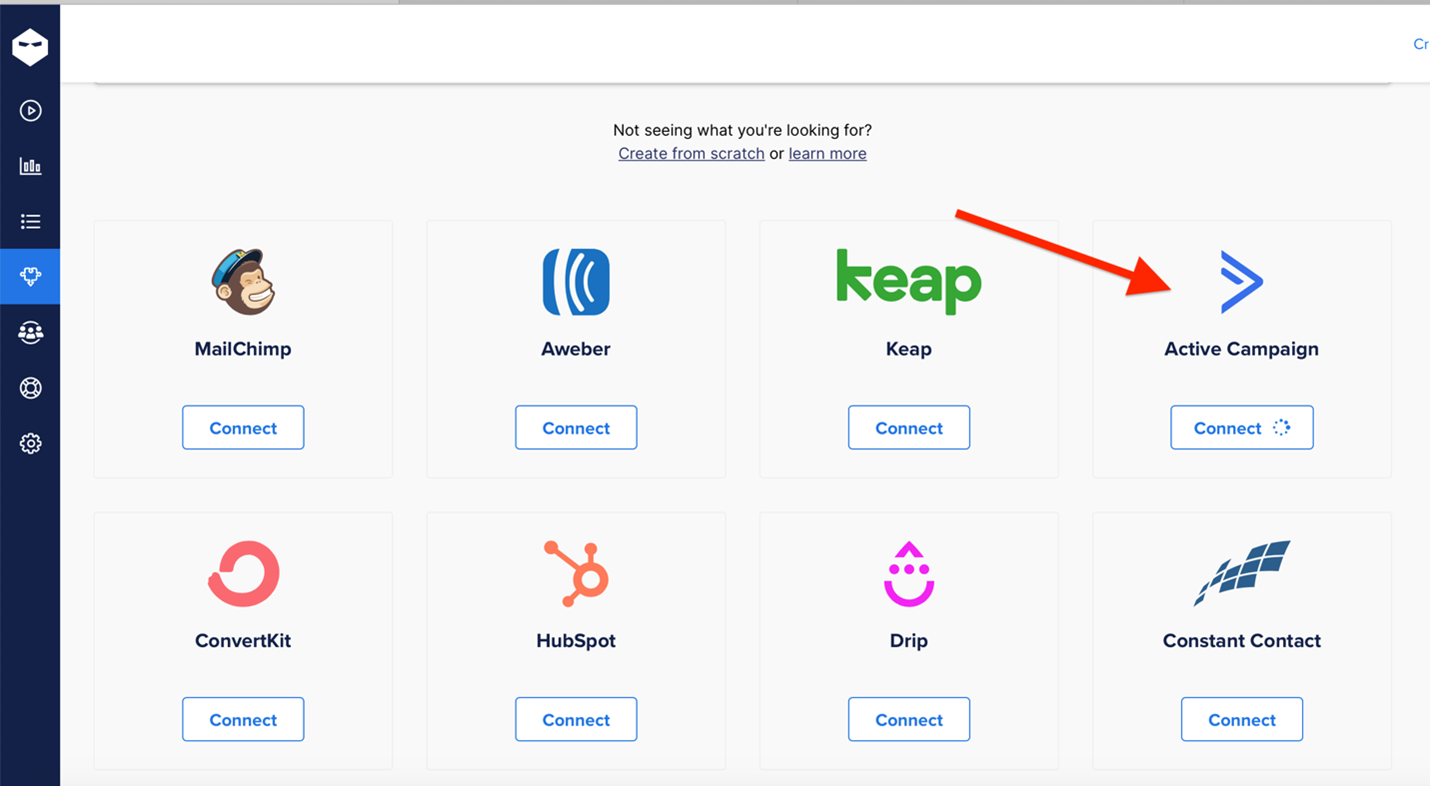
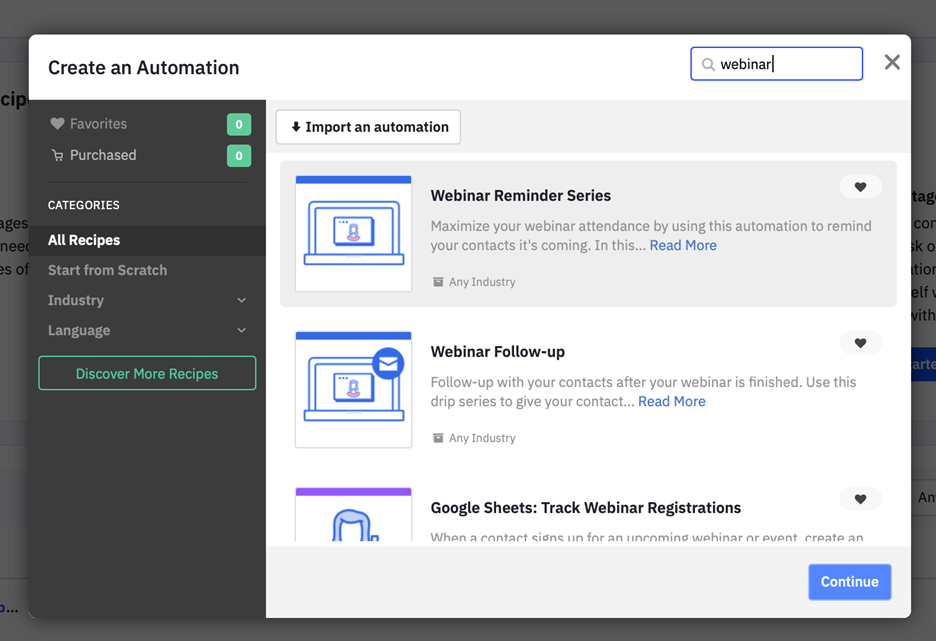
The final step will be to go into your ActiveCampaign account and set up new automation. To do this, go to Automations in the left-hand menu and click Create an Automation at the top right of your screen.
Start typing “webinar” into the search box, and the webinar reminder series automation will pop up. Click on it to select it, and then click Continue.
You'll now see the entire webinar reminder automation. To customize the dates and email content, click Get Started and select the custom date field associated with your webinar (for me, this is the Webinar Date field.) Leave all the other dropdown boxes as is.
ActiveCampaign will now walk you through this process several more times. Choose your webinar date custom field each time, leaving the dropdown boxes as is.
Finally, click on the blue View Emails button at the top of the page to customize each email sent to registrants.
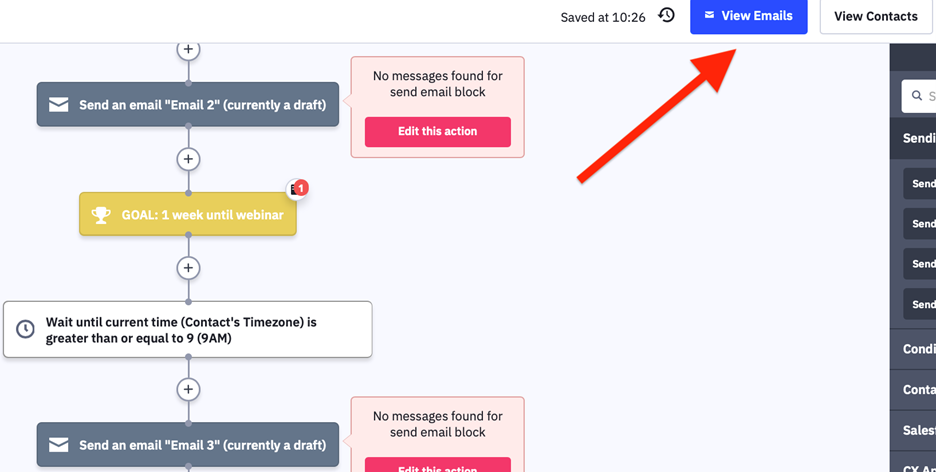
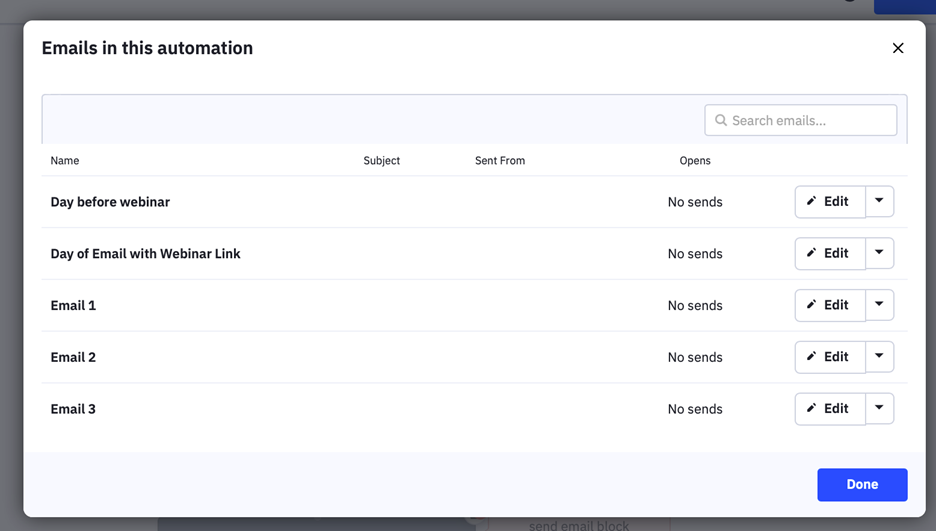
Your registrants will now receive regular reminder emails in the weeks and days leading up to your webinar.
Step 4: Host Your Webinar
I could write an entire blog post on hosting a successful webinar, but let's stick with the basics for now.
First, make sure you use the right equipment.
Microphone
 While you can use your computer's built-in mic, it's worth investing in an external microphone. Nothing ruins a webinar or video recording like bad audio.
You can get away with bad video quality, but without audio, your attendees won't be able to understand what you're talking about and will leave early.
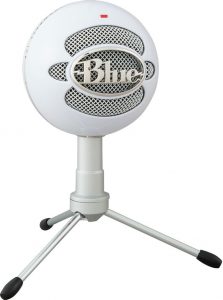
One of my favorites is the Blue Snowball iCE USB microphone which you can pick up at Amazon for $50.
Webcam
You may also want to consider upgrading from your computer's built-in webcam. External webcams are affordable and can make a huge difference in video quality.
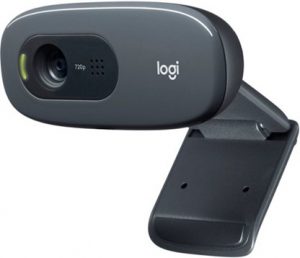 Logitech offers excellent options, like this $40 C270 webcam with a built-in light correction and 720p HD quality.
Keep in mind that if you plan to sell webinar recordings or use them in your paid courses, you should go for a premium-quality microphone and a webcam. You don't want customers complaining about bad quality.
Lastly, plan and prepare your content.
Generally speaking, I'd recommend you use a detailed outline rather than writing out your content word-for-word. Sticking to an exact script can make you sound stilted and impersonal, leaving no room for spontaneity.
A conversational tone is always ideal for webinars as it increases the all-important “know, like, trust” factor, leading to greater engagement and, ultimately, sales.
Hubspot offers an excellent guide and template for writing your webinar script. You can check it out here.
Step 5: Send Follow-up Emails After The Webinar
You'll probably sigh a relief once the webinar is over.
But that doesn't mean your work is done!
Following up with your attendees in the days after the webinar is key to nurturing the relationships you started building before and during the event.
Fortunately, sending automated follow-up emails is easy using ActiveCampaign. Here's how.
Go into the webinar reminder automation you created earlier. Scroll down to the bottom of the automation until you see the red End this automation button.
Hover over the button and click the garbage can icon to remove this step.
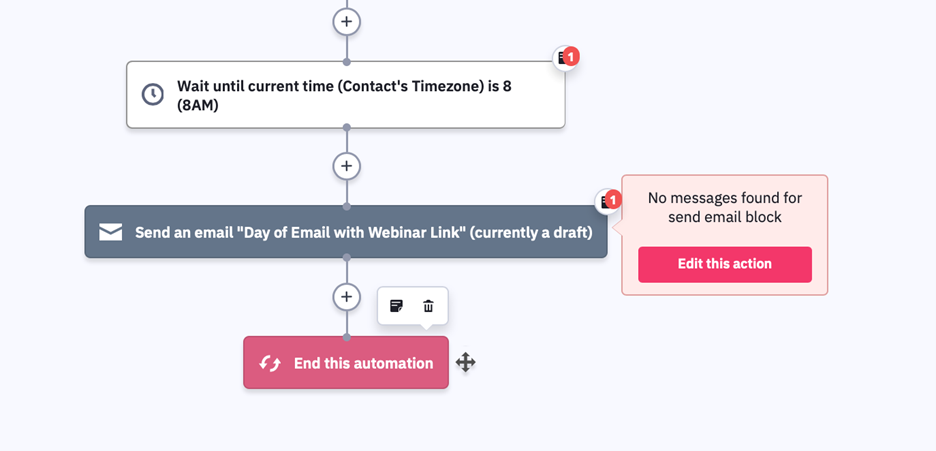
Click the plus button at the very bottom of the sequence, select Conditions and Workflow, and then Wait.Select Wait for a specified period of time, and then select the number of days you'd like to wait (for instance, one day after the webinar, three days after the webinar, etc.)
Next, click the plus sign at the very bottom of the sequence again, and this time choose Send an email under the Sending Options menu.
Click Create a New Email to write the content of your follow-up email.
Your webinar attendees will now receive an email that will remind them of the offer you made during the webinar (to book a call, buy a product, etc.)
Finally, click the plus sign one last time and select end this automation in the Conditions and Workflow menu.
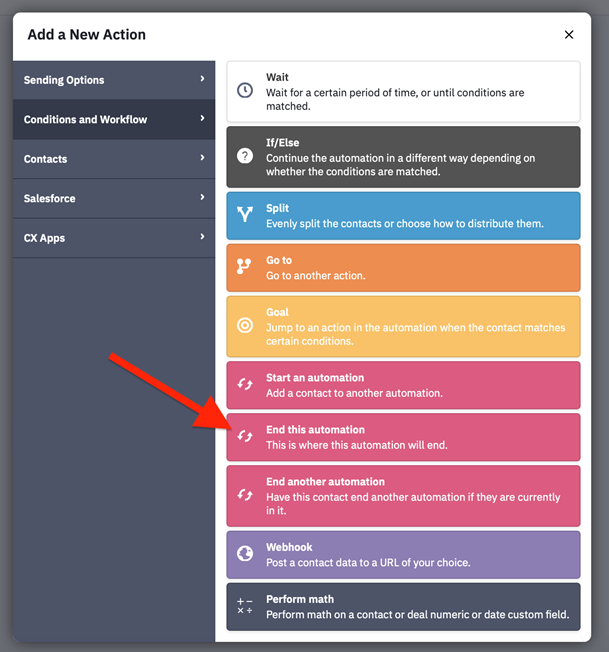
Your attendees will remain on your list but will now leave the webinar automation.
Final Thoughts
Planning and hosting a webinar or any virtual event requires significant time and resources, so don't just “wing it.” Taking the time to choose the right tools and to plan your webinar – from before the webinar to after – will save you untold amounts of time, money, and frustration. So don't rush the process!
Editor's Note: We've used WebinarNinja at Eventstant's parent company for over six years since 2016. It's a reliable, feature-rich platform hosts and attendees both enjoy using. We highly recommend it for everyone running webinars. Check out WebinarNinja ›


